How to process images with Python PIL library
Since the photography industry transformed from old film technology there has been an explosive growth in the number of digital images that circulate in our lives every day. For business or personal use purposes, handling these digital images can be time consuming, especially in bulk.
Programming is another technology that has been taking more and more space in our lives. Some high-level programming languages like Python are becoming mainstream practice and this is great for efficiency and proficiency. From what it seems, we will witness a very exciting and innovative near future in the upcoming years.
But what happens if you merge two innovative technologies, digital imaging, and programming? That is where PIL and Python enter the scene. PIL is a very resourceful Python library for digital image processing. In this tutorial, I’ll explain to you how to adjust, process and manipulate digital images using Python and PIL library.
The content of the article
- PIL Tutorial
- How to convert a color image to B&W (Black & White)
- How to adjust contrast
- How to adjust brightness
- How to adjust sharpness
- How to adjust saturation
- How to add color tint
- Summary
PIL Tutorial
Let’s start with explaining a few basic codes such as “how to open an image with PIL?” and “how to display an image with PIL?”
If you need to polish up your basic Python skills there are some great Python lessons and interactive exercises on this website: Python Lessons and Exercises.
First import the Image module from PIL library:
from PIL import Image
You can open an image with very little code like this:
img = Image.open("Desktop/10.jpg")
To display an image:
img.show()
To create a new image:
new = Image.new("RGBA", (2000,2000), color=(255,255,255,255))
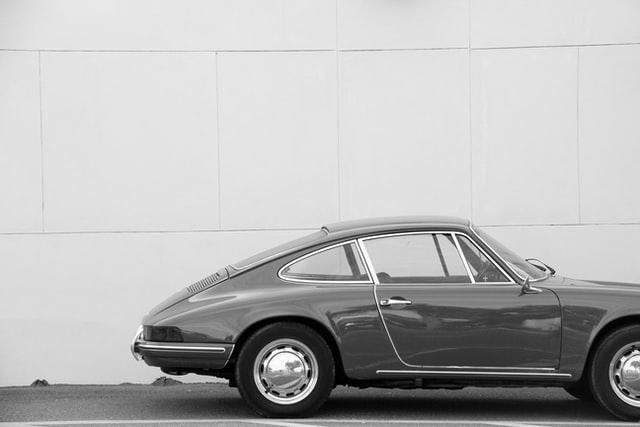
How to convert a color image to B&W (Black & White)
Method 1
Converting an image between different color modes is pretty easy. All you have to do is use .convert method an apply a grayscale color mode such as “L”.
    from PIL import Image

    img = Image.open("Desktop/10.jpg")
    img.convert("L")
    img.show()
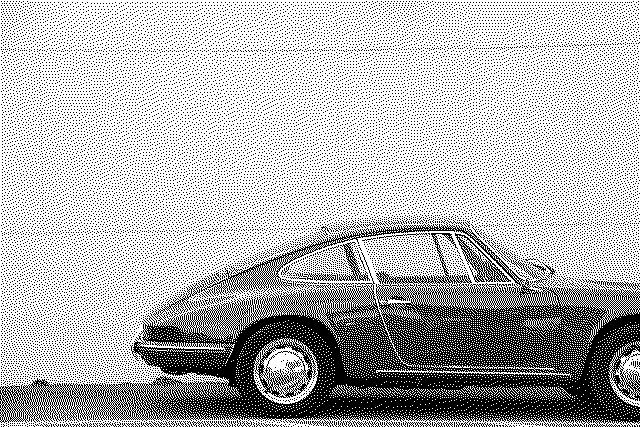
Method 2
Alternatively, you can convert the image to “LA” or “1” color modes. “LA” will give a similar result to “L” color mode. “1” color mode has no grays or any other colors than 1 and 0 which represent white and black pixels. If you apply “1” mode you will get a true B&W image like below:
      from PIL import Image

      img = Image.open("Desktop/10.jpg")
      img.convert("1")
      img.show()
How to adjust contrast
We will use ImageEnhance module from PIL for this task. There will be a couple of extra steps compared to just converting the image to make it black and white as previously.
- First, make sure to import ImageEnhance module in addition to the Image module.
- Secondly, we will create a filter using the ImageEnhance.Contrast method and then apply this filter to the image.
Here is the code:
Adding contrast:
    from PIL import Image, ImageEnhance

    img = Image.open("10.jpg")
    contrast_filter = ImageEnhance.Contrast(img)
    new = contrast_filter.enhance(4)

    new.show()
Value 4 signifies the strength of the contrast you want to apply to the image. 1 would be a much lesser contrast boost while 10 will really amp the contrast up.
Contrast works both ways so go ahead and try applying negative version of your initial value. We applied -4, the result will be something like this:
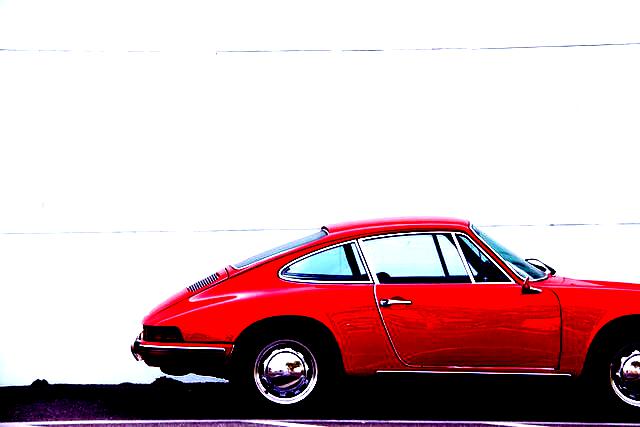
How to adjust brightness
Brightness is very similar to .Contrast method from ImageEnhance module. In this case we will use the .Brightness module.
A value like 1.3 will be more than enough to boost up the brightness of the image but you can adjust it to your image processing needs.
Adding brightness:
  from PIL import Image, ImageEnhance

  img = Image.open("Desktop/10.jpg")
  brightness_filter = ImageEnhance.Brightness(img)
  new = brightness_filter.enhance(1.3)

  new.show()
[adinserter block=”6″]
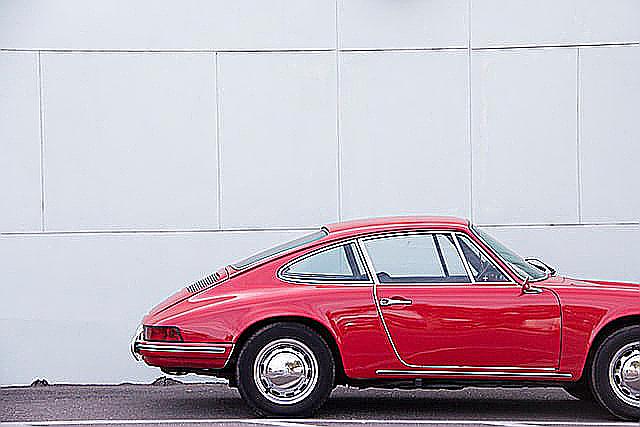
How to adjust sharpness
Just like Brightness and Contrast ImageEnhance has a .Sharpness method. We will apply a sharpness of 10 to this classic car image below.
Adding sharpness:
  from PIL import Image, ImageEnhance

img = Image.open("Desktop/10.jpg")
brightness_filter = ImageEnhance.Sharpness(img)
new = brightness_filter.enhance(10)

new.show()
[adinserter block=”6″]
How to adjust saturation
Saturation can be achieved by boosting the colors of the image using ImageEnhance module. .Color method from ImageEnhance module will do just that.
In this PIL Saturation example we will apply a value of 3 to the image.
Adding saturation:
  from PIL import Image, ImageEnhance

  img = Image.open("Desktop/10.jpg")
  brightness_filter = ImageEnhance.Color(img)
  new = brightness_filter.enhance(3)

  new.show()

[adinserter block=”6″]
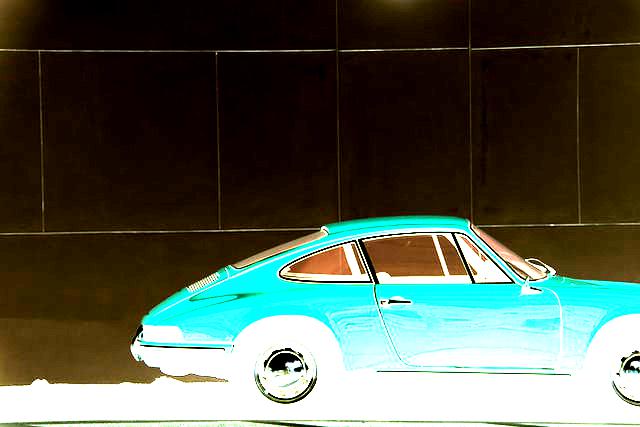
How to add color tint
Adding color tint to an image is another interesting filter like adjustment that can be made with PIL library.
RGB mode makes it possible to have 3 channels namely, red, green and blue. Each of these channels represent the color of each pixel and can take any integer value between 0 and 255. For example, an RGB tuple of (0,0,0) represents a pitch-black pixel while (255, 255, 255) represents a full white pixel.
We can get any color by turning up or turning down these values within the range of 0-255. (R,G,B) Let’s say we want to have blue color, (0, 0, 255) will do. (10, 10, 200) will also give another shade of blue while for example, (200, 20, 20) will give a red shade and by mixing red and green we can get yellow: (200, 200, 10). Feel free to play with these values.
You can read more about digital image basics or learn how to process images in bulk in the link below.
Recommended Reading: Python Digital Image Processing.
We will need a couple of extra steps to be able to achieve color tints on images.
- Create a new image, which will act as a layer with a solid background of a color.
- We will also work in RGB mode in all images. This can be done easily by converting the actual image you are working on using .convert method. And creating the new image in RGB mode as well.
- .size method can be used to define the size of the new color layer instead of manually typing the image size.
- Finally, we will use .blend mode to blend color layer to the original image. This method also takes a percentage value as a float which defines the intensity of blending. We will use values around 10% to 30% not to choke the original image too much with tint.
Adding a green tint:
  from PIL import Image, ImageDraw

img = Image.open("Desktop/10.jpg").convert("RGB")
tint = Image.new("RGB", (img.size), color=(55,255,11))
new_img = Image.blend(img,tint,0.1)

new_img.show()
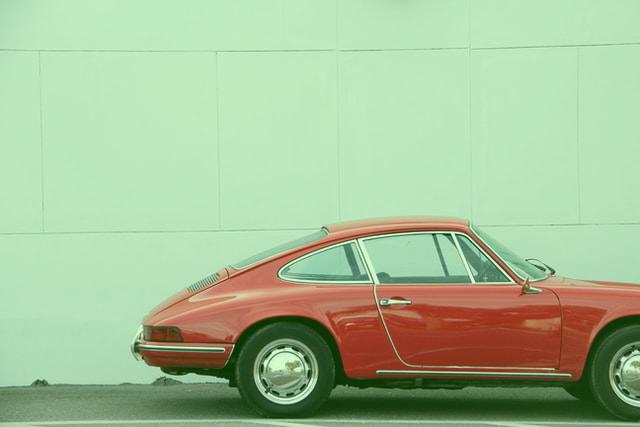
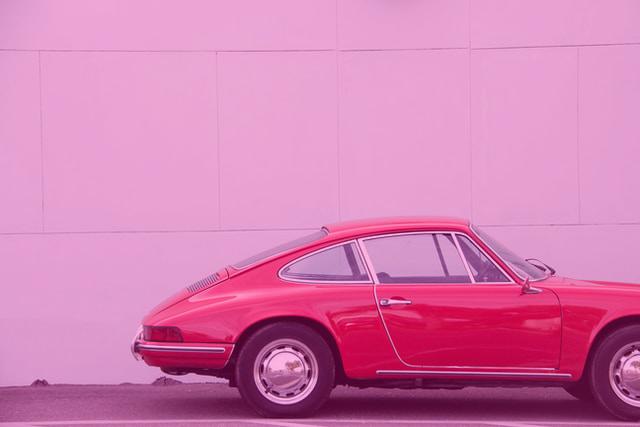
Adding a pink tint:
  from PIL import Image, ImageDraw

  img = Image.open("Desktop/10.jpg").convert("RGB")
  tint = Image.new("RGB", (img.size), color=(255,155,15))
  new_img = Image.blend(img,tint,0.3)

  new_img.show()
Adding a blue tint:
  from PIL import Image, ImageDraw

  img = Image.open("Desktop/10.jpg").convert("RGB")
  tint = Image.new("RGB", (img.size), color=(15,15,255))
  new_img = Image.blend(img,tint,0.3)

  new_img.show()
[adinserter block=”6″]
Summary
This tutorial was about PIL imaging library of Python.
We have seen basic image operations using the Image module from PIL library. These operations were:
- Opening an image
- Converting an image’s color mode
- Creating a new image layer (or new image)
- Showing an image
- Saving an image
We have also seen several image effects, image enhancements as well as black and white transformation that can be applied to an image.
Namely, we have demonstrated; brightness, contrast, sharpness, and saturation effects using the ImageEnhance module.
Finally, we have applied several different color tints on the image using .blend method.
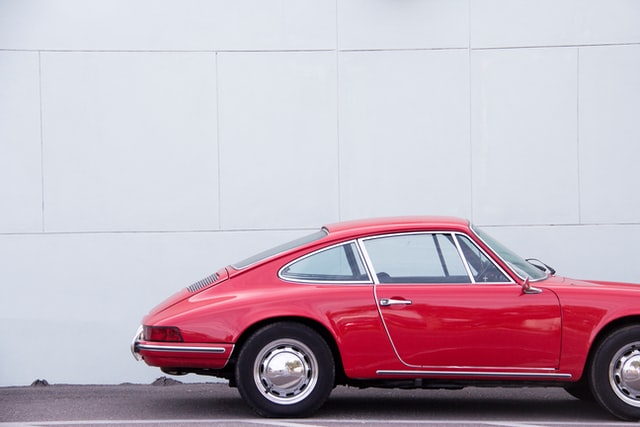
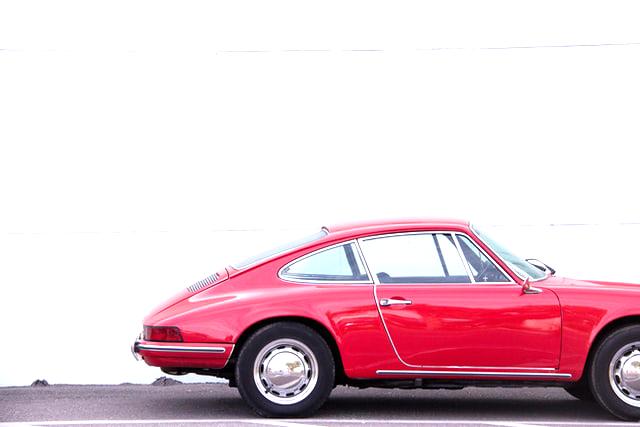
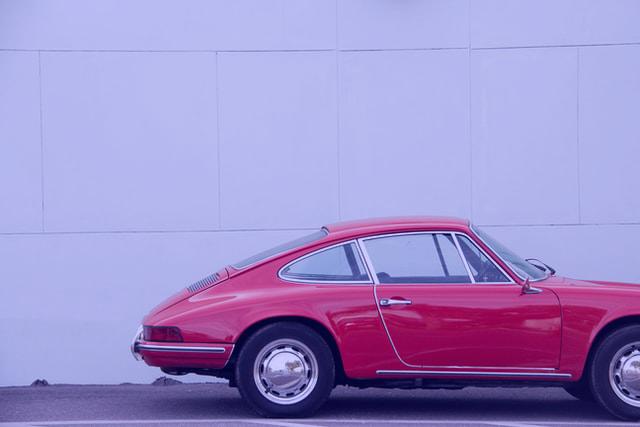
Original image